Before the Magic Begins
Let's Talk About the Basics, First.
I'm placing those videos here in our library for you to refer to, and eventually I'll put some of these videos on FFB in the modules for easy reference. There are a ton of them for this one project, a buffet, so brace yourself!
The only exception is the fun little video, "Playing with Paint". That's not a basic technique, so it's only for you, my PROs.
You're probably already up on most of these things, but you never know what little detail might make a difference and save you time, frustration and/or money.
It's important to enjoy the journey.
Flat Sanding
We learn the neatest tips and methods from those around us and that includes kids. Isaac told me about a very simple method that I call "Flat Sanding." It works well on large surfaces.
Removing Felt in Drawers
DH to the rescue. You know, it's really handy having someone like him around.
The felt was nasty and I tried to clean it, but decided to remove it all together. DH came down to my workshop and showed me how to remove it. Fortunately its was easy and quick.
Removing Hardware
I really thought this one was going to be a problem, that two were glued on...
Putting them back on was a bit challenging since the drawer pulls were moulded to fit the curves (and lack of curves) of the drawers. And it didn't help that I lost one of them, or should I say, MIA hid it on me!
Fixing Scratches & Gouges with Retique It Mud
To be honest, I was quite surprised at this product. I thought it was kinda runny compared to other wood fillers and didn't like that I had to let it sit overnight. BUT wowsers! It works great and is super easy to use on gouges and scratches. You can use the Mud Filler as a grain filler as well.
Straining Paint
It's always disappointing when you open up a can of paint and find goobers in it. Many will toss the whole can but I'm too cheap to do so. I have a big sleeve of paper and mesh cones used for straining paint and they work well. It works and saves your paint (and time and money and frustration).
It's a good idea to strain your paint before spraying too.
Priming Without Brush Strokes
This method works well with one word of advice, don't apply thick coats. Thin, even coats are best.
Applying the Base Coat Quickly & Efficiently
I discovered that a flat round brush was the best way to get paint on quickly and easily. I used Retique It's wax/chalk 2" paint brush. I just ordered two more, a 1 1/2" & 2" since then and now have 5 because I use them so much for base coats, blending, wax and even for stenciling large motifs.
Stenciling Prep + Tints
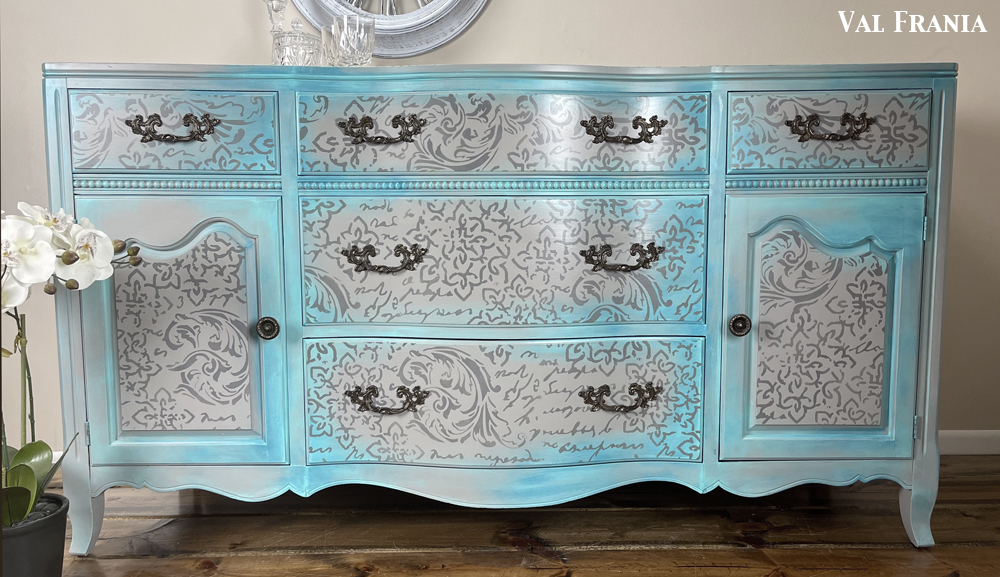
I used CrystaLac Greige for the base coat and added Retique It's black colorant to tint that same paint for the stenciling.
Playing with Paint
For the color accents, I used Southern Blenders B.B. Bermuda #1 & #3 with a ClingOn brush and paper towel.
Details Matter - Drawer Edges
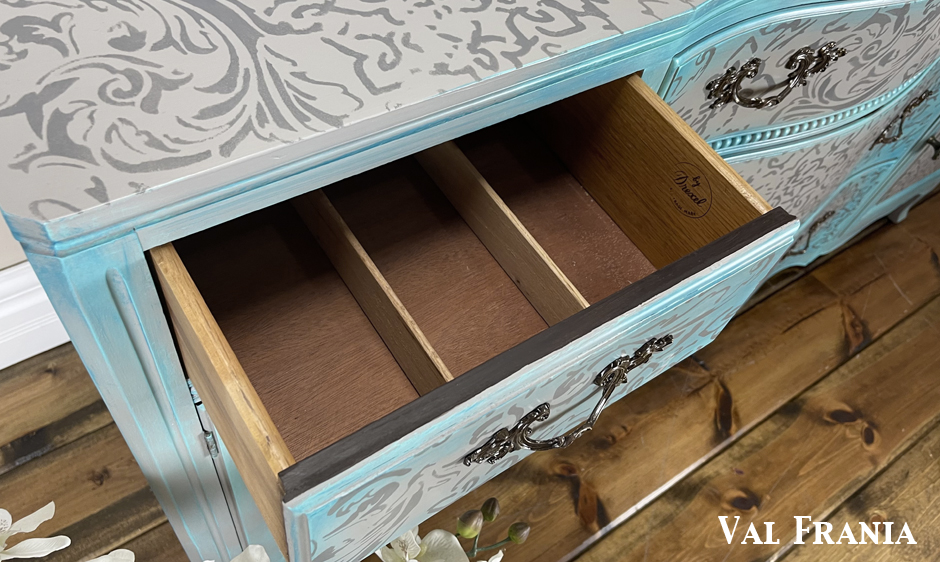
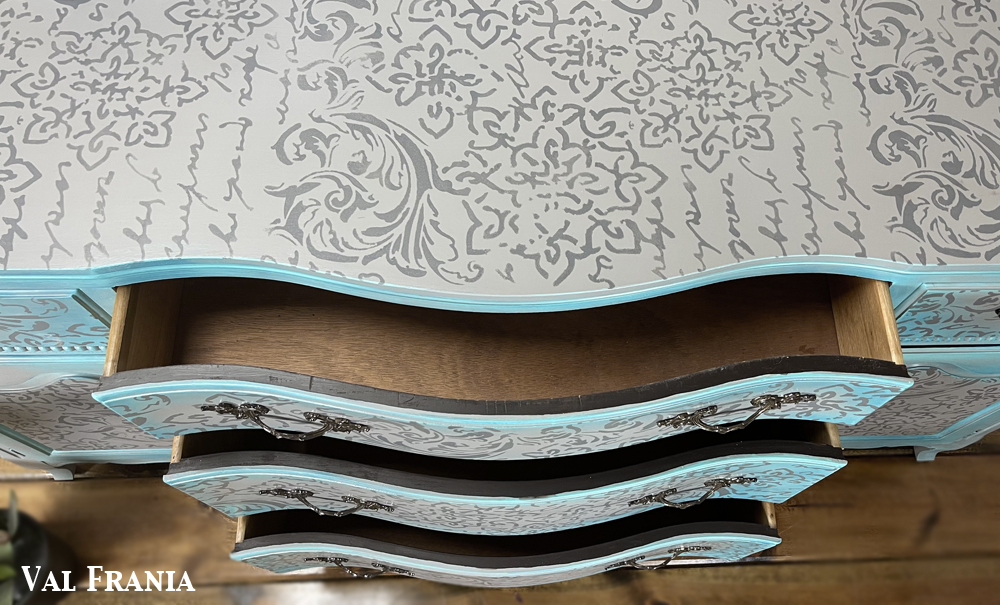
Since I painted this piece with the drawers in, I had to deal with the strip at the top and sides of the drawers and doors that weren't painted. Fortunately the sides of the drawers were fine as is, but the other needed some help. I went with Java Gel by General Finishes because I wanted the darkness of the Java to accent the dark brown of the drawer and cabinet hardware when slightly or fully pulled out.
I chose stain hoping it would be thinner than paint to keep everything from sticking or being too tight. I hand painted each strip and did not topcoat. I could have left them and it would have been OK, but to me details matter.
Staging - The Final Frontier
This is the icing on the cake, and the description you'll use when you list your piece are the candles that you light to get their attention.
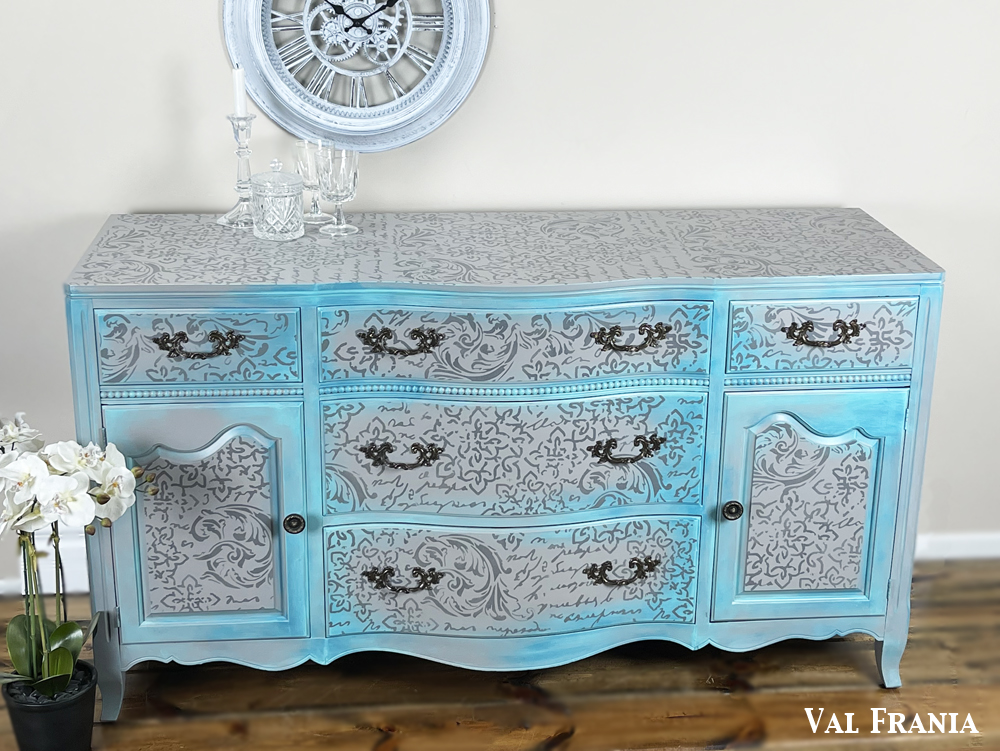
- Start with your money shot: The top level to the eye, straight on, full body shot.
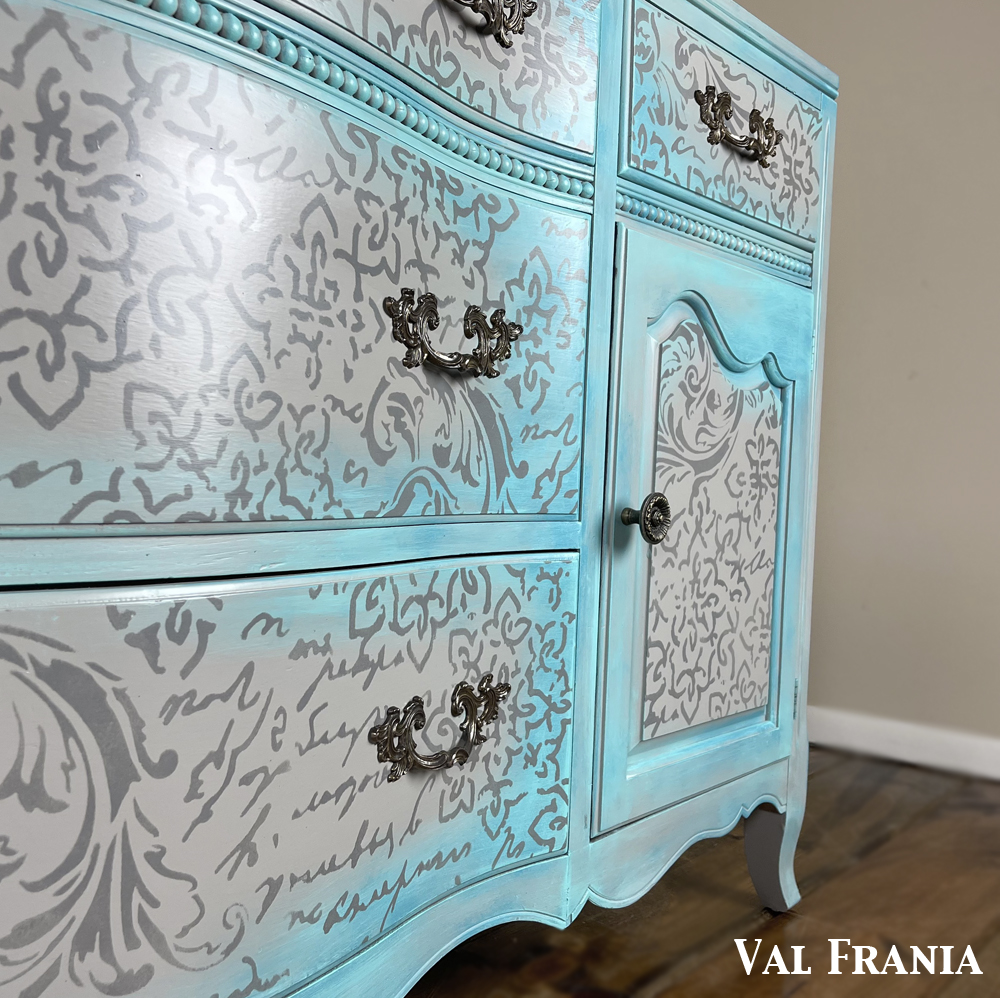
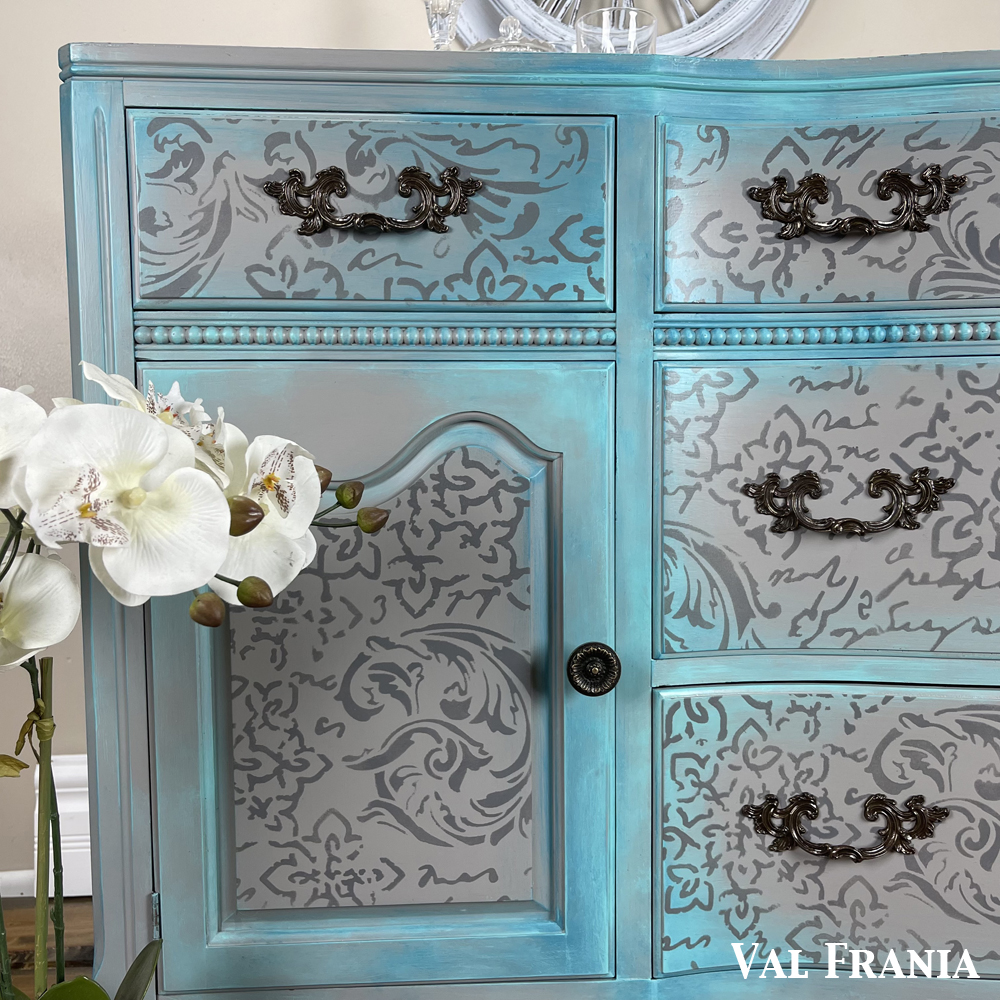
- Closeups of important parts like the hardware, curves, legs, appliques, etc.
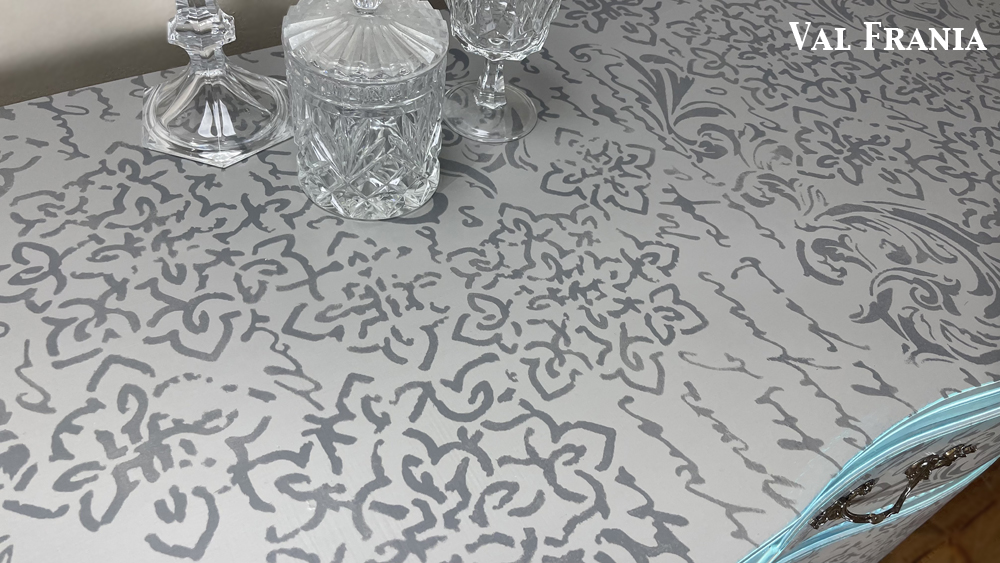
- Design details like stenciling, dry brushing, blending etc.
- Drawers and other practical parts
- Angles: sides, corner shots etc.
- When listing, I usually use full body shot different from the money shot for the last photo.


Details matter - would you agree?

