Blueprint Modules
Modules 1-3 Getting Started
1. Prep & Repair Tools & Products
2. Prepping Your Piece
3. Repairing Your Piece
Modules 4-8 Refinishing Your Piece
4. Paint, Stain, & Topcoat Tools & Resources
5. Paint, Stain, & Topcoat Products Explained + Tips
6. Painting Your Piece
7. Staining Your Piece
8. Protecting Your Piece
Modules 9-11 Creative Techniques
9. Distressing & Aging
10. Decorative Painting & Accents
(Below is the list of technique in Module 10 and are delivered each week, one at a time.)
- Creating Texture
- Dry Brushing
- Raised Stenciling
- Stenciling
- Glazing
- Saltwash
- Layering
- IOD Transfers
- 7 Products Used 4 Ways
- Unicorn SPiT
- Retique It
- Decoupage
- Creating Appliques
- Accenting with Shiva Sticks (available now)
- Blending
11. Specialty Tools, Resources & Products
Modules 12-15 Marketing Your Finished Piece
12. Pricing - De-stressing the Process
13. Staging & Photographing Your Finished Piece
14. Selling & Marketing
15. Delivery, Care Tags, Invoices, Disclaimer
→ Bonus Modules
Put welcome video here.
Do it right...
The first question is usually, "Where do I begin?" The first step can be the hardest, but once you take it, you are on your way to becoming a fab furniture flipper.
It only takes one step to get going. Let's start at the very beginning - finding and prepping your piece.
You will find a PREP TALK video down below giving you all the recommended steps for complete prep. Not all have to be done - you will determine which steps to take based on the need of your piece.
Finding Just the Right Piece of Furniture to Flip
• If you are a newbie, pick some smaller less expensive pieces like plain end tables or desks to learn your craft. You can usually find these at garage sales or thrift shops. Watch for side of the road toss outs. Pay just a few dollars for them and practice cleaning, prepping and painting them. Aunt Bessie might pass something down or you might want to flip some of your own pieces in your home. Start out with the basics until you gain experience.
• Once you gain confidence and learn what pieces are of good quality, you will find better pieces all over. Garage sales, consignment shops, estate sales, Craig's list, Good Will, etc. will be great places to frequent. Friends and family will start tagging you on Facebook and texting you addresses of pieces they've seen alongside the road or give you their own furniture they don't want any more.
• Any pieces that seem old or of good quality should be researched before you begin. You may find that it is more valuable if it's just cleaned up. Some hold no value other than usability, and when that is the case, a redesign might be in order. If you plan to sell your piece, research your market to find out what colors and styles sell. Realize you are not your avatar - you may love bright orange, but pieces that are unusual colors will take a special person to love it.
• You also need to consider the purchase price of the piece, cost of materials and time it will take to refinish it before planning a flip if it will be for sale. Spending $150 for a desk and $80 for materials will not bring much profit, especially if many hours are invested in its flip.
• Of course, if you are planning to keep it for yourself or are refinishing it as a gift, the only person you need to please is yourself and the sky is the limit.
A PREP TALK

[NEW] The Complete Redesign Course
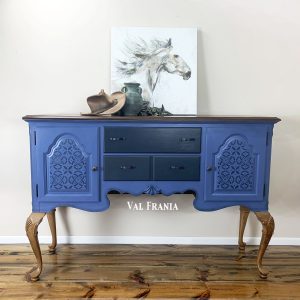
This video course takes you step-by-step through the redesign of this sideboard.
CREATIVE KIDS FURNITURE ART
This 5-week course is an easy step-by-step tutorial for the beginner who would like to learn to re-design furniture.
If you already own this course, CLICK HERE
Click HERE for details.

REDESIGNING RUBY (FREE TO FFB MEMBERS)
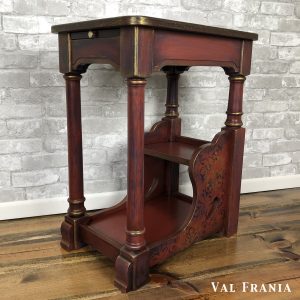
Ruby, an ordinary ol' end table, is the star of the show in this 10+ video course designed specifically for the challenge.
If you already own this course or are an FFB GOLD or SILVER member, CLICK HERE.

